A Homeowner's Guide to Building a Retaining Wall
Written by Rachel Downey
My Mission: To educate my customers on how to achieve the perfect lawn and landscaping.


The biggest complaint we receive from homeowners with a retaining wall is that the wall looks uneven after a couple of years, or the wall has started to lean, or even worse it has fallen over. We have built this guide so that if you follow every step your retaining wall will last for years to come!
-
Plan - Figure out how many linear feet long your wall is going to be as well as the height. Walls over 3ft tall require a permit from the county. You can hire an engineer to write up a plan so you can get approved.


-
Buy - The best stone for a homeowner would be Windsor 4-inch. The dimensions for the stone are 9" x 4" x 12" (W x H x L). Each stone is about 22.5 lbs. When you buy them make sure they are not hollow. You might be thinking you will save your back with lighter stones, but these stones will not last as long as solid. These stones also have a lip on the back for easy stacking.
-
When purchasing the stones try to purchase them in bulk if you can/need that many. When you go to the local hardware store they tend to be chipped and beat up from people picking them up and setting them down. Regardless, some will come chipped when you buy them in bulk, but usually not as many. Buy 10% more than what you think you need for when you have to cut stones later.
-
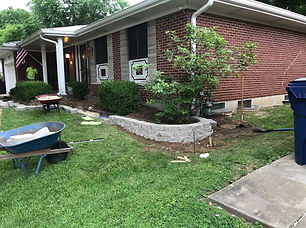
There is a wide range of different color options for the blocks. We personally recommend the normal concrete gray because it isn't as noticeable when they fade. If you go with another color 15-20 years later you might need to swap the blocks out because they may look faded. (check picture below of a faded wall vs a fresh wall)
-
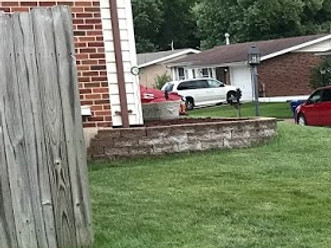
Before
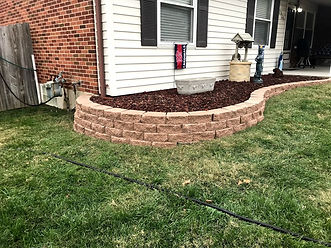
After
-
Dig - Dig a trench where the stones will be placed 4 inches wider than the total width of the stone. The depth of the trench should be at a minimum of 6 inches.

-
Base - Pour a 2 inch layer of minus gravel and then use a hand tamp to compact it. Repeat this step one more time. By the time you put down the second layer of base there should be 2 inches between the top of the lawn and base you just laid. Minus is crushed in size from 1" down to 0 including fines to aid it in packing. Doing this will give your wall a solid foundation.
-
If you were to lay the stones on dirt rather than the minus your wall would become uneven and buckle over a couple of years. This is because the dirt will settle as well as expand in the winter time when water gets in the soil and freezes.
-


-
Lay - Lay the first stone at the lowest point of the wall and level it from front to back of the stone and then side to side. Make sure to tamp the stone in place with a dead-blow hammer. Then lay the second stone next to the first and repeat the process. The stones should be flush with one another. You should be able to run the level over the top of both of them with the level bumping into the stones. We also recommend using a line level to make sure they are the exact height from the stone to the line.
-
Laying the stones can be very time consuming and very frustrating at times. However this is the most important part. If one of your stones is uneven it can create a lump/bump in the wall.
-


-
Stack - Stack the remaining rows of blocks on one another until you reach the top of the wall and glue the top layer of stones to the one below with stone adhesive. You will most likely have to cut a couple of stones at this point. You can rent a concrete saw from your local hardware store or you could use a hammer and chisel and score around the whole block and then hit it hard in the center with the chisel and hammer to split the block where you scored it.
-
Final Touches - I recommend back-filling behind the wall with clean gravel when the height of the wall exceeds 1.5 ft. This will help the wall from moving in the winter when the ground freezes and expands.


Once you are finally done you can take a step back and look at the amazing wall you have built. If this is something you want to do, but you are unable to, please call Downey Lawn Care LLC for a free quote.
Call me at 314-570-4812.